From Punk Energy to French Touch Smooth—How AI Changed the Remix Game
A detailed, personal breakdown of re-harmonizing Mother Mother’s “Hayloft” into a French Touch remix—complete with AI stem separation, retro synths, chopped vocals, and gritty bass layers. A playful journey through genre-flipping, sound design, and modern production tools.

Marca Tatem (Instagram | Spotify) — San Francisco, August 7th, 2025
Somewhere on a long road to New Orleans, my girl—whose taste in music is nothing if not eclectic—queued up a track by the Canadian indie-rock band Mother Mother.
The song, "Hayloft", came out swinging with raw, slightly chaotic punk energy, but anchored by a rhythm section that locked in like Vulfpeck on a good day. Then came the chorus—Molly and Jasmin firing off a syncopated, sing-song line:
“My daddy’s got a gun, you’d better run!”
The whole thing felt hilarious and cinematic: two young lovers caught in the hay by the girl’s father, shotgun in hand. The poor guy should probably start running—pow!
Somewhere between the humor and the groove, my brain started doing its usual trick: What if this song wore different clothes? I could already hear it wrapped in lush, dreamy French Touch textures—half Daft Punk, half Breakbot—its punk edges smoothed into a late-night pulse.
By the time we rolled into Louisiana, I’d asked her to text me the track name. (I still think Apple could pull off a frictionless, UWB-powered “song-beaming” feature—but alas, she’s a Spotify girl. Ever since I quit my job at Apple, I keep noticing more of these fascinating creatures in the wild.)
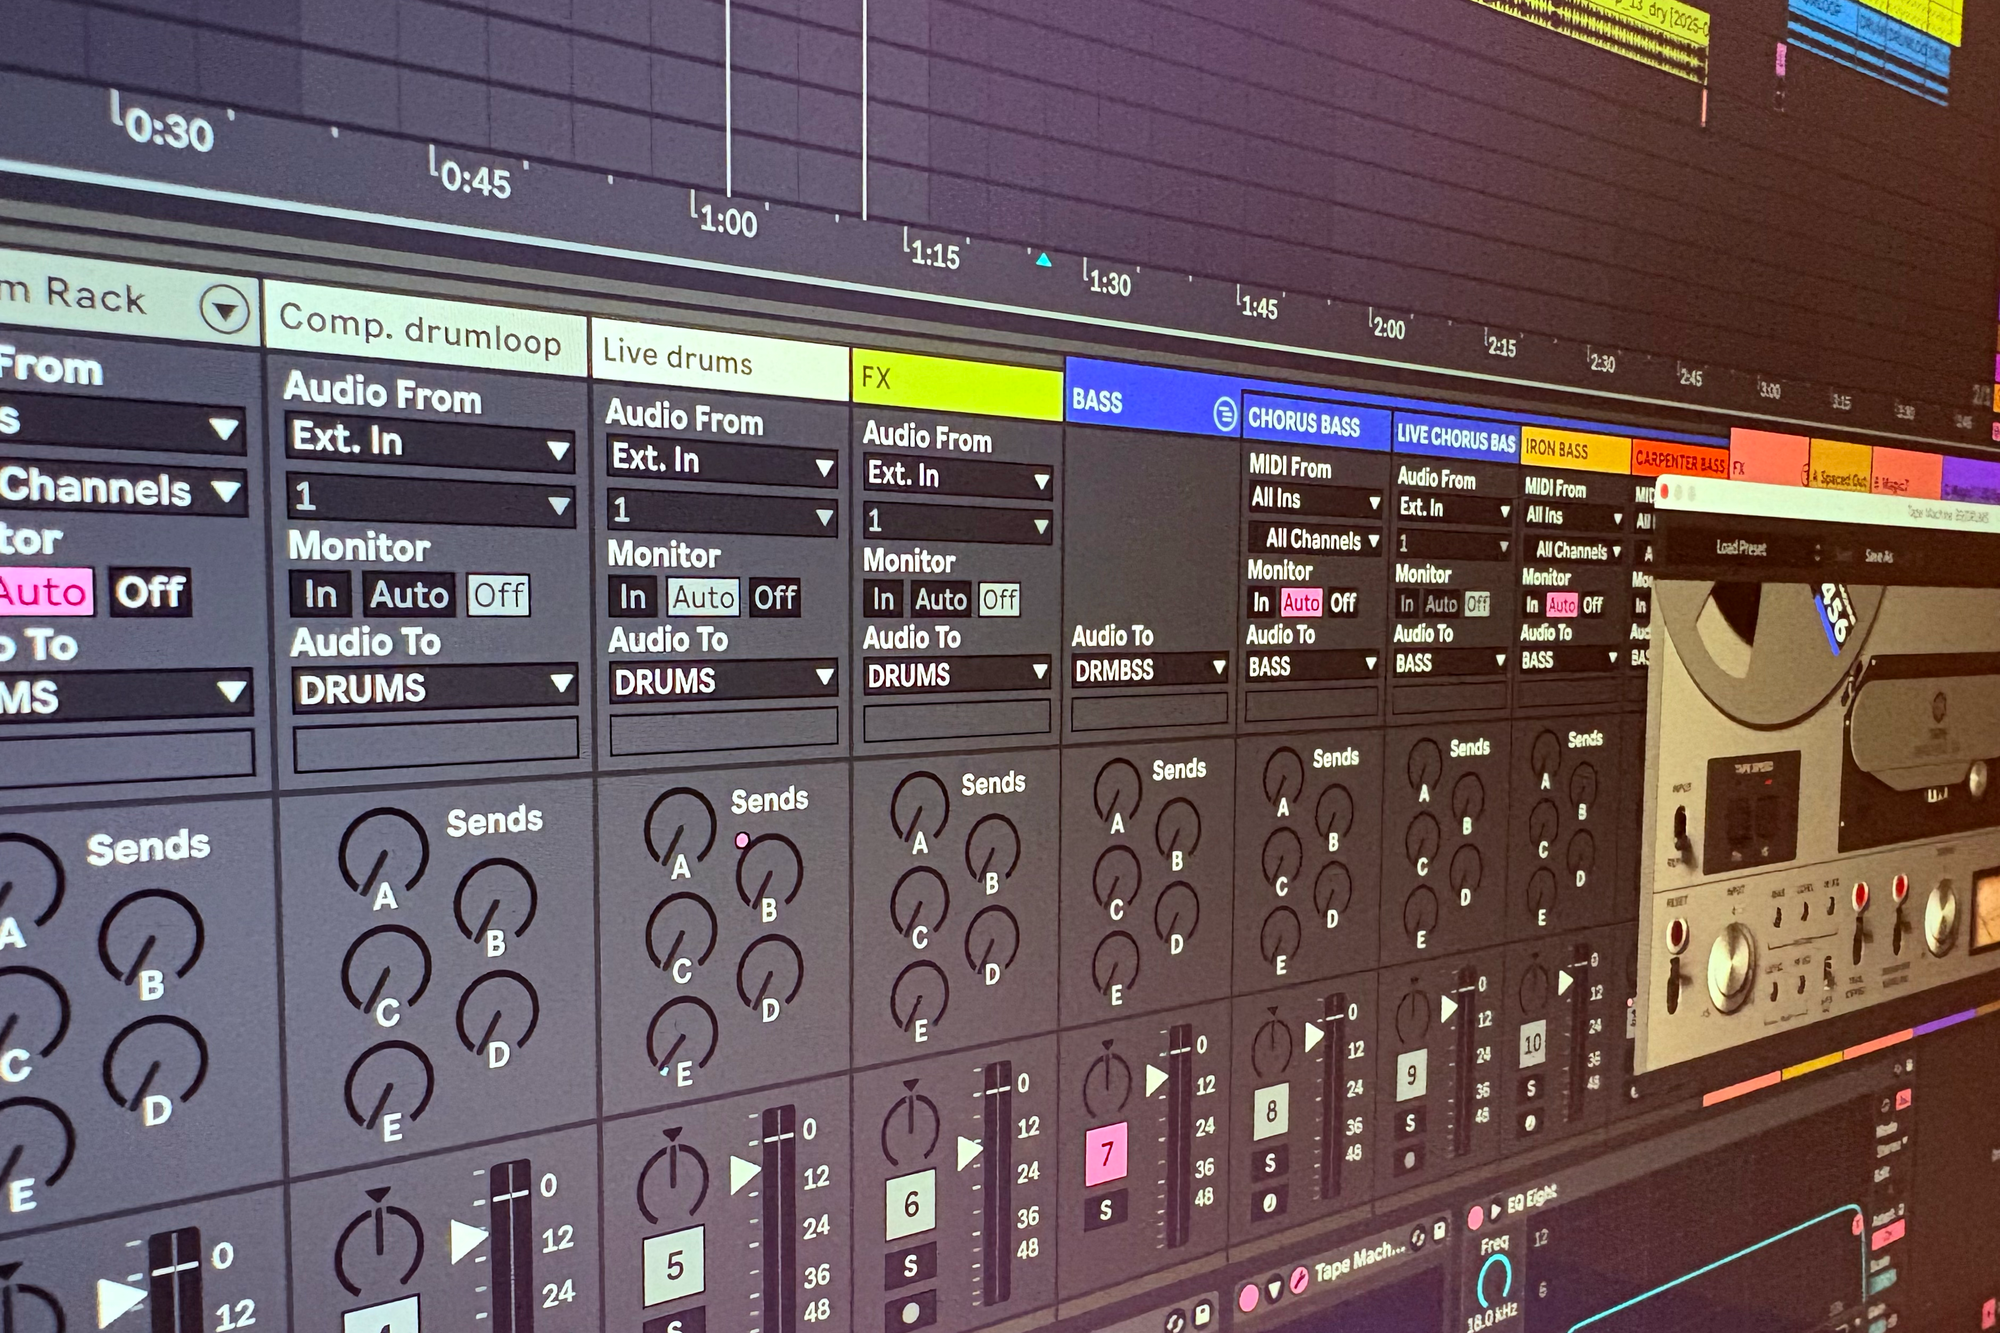
Back in San Francisco, I fired up Ableton Live 12—my latest DAW obsession—and dove straight in.
Just like with my Something About Us reconstruction, here’s how I pulled this one apart and rebuilt it—track by track.
AI-driven stem separators, oh shut up now!
To re-harmonize a song, you first have to strip it bare. That meant getting my hands on the raw vocals—clean, isolated, and free of drums or guitars.
Enter the stem separator. I use LANDR Stems, and even after years in the industry, it still feels like black magic: feed it a fully mixed track, and out come neat little pieces—vocals, drums, bass, instruments—like a song neatly taken apart on the workbench.
What blows my mind is how little bleed there is. (French engineers call this “repisse,” which always makes me smile.) In the analog world, when a singer records, bits of the drums or guitars inevitably sneak into the mic. Here, even if a faint ghost of the original mix lingers in the vocal track, it’s so subtle it folds back into the remix as if it had always been there.
Behind the magic is some very clever AI. Stem separation models are trained on thousands of multitrack recordings—datasets like MUSDB18, Slakh2100, or proprietary studio stems—where every part is known. The model learns the spectral and rhythmic fingerprints of each instrument by analyzing waveforms or spectrograms, and modern systems use U-Net-style encoder-decoder networks (sometimes with attention layers) to tease the sources apart. The result? Vocals, bass, drums, and instruments, each in their own pristine lane.
What’s wild is how this worked just a few years ago. If you wanted to remix a track properly, you had to hunt down the producers, sweet-talk them, and somehow convince them to hand over the stems—vocals, drums, bass—the crown jewels of the song.
Now? It literally takes seconds. Just grab a lossless file, slice out what you need, and feed it to the stemmer. Boom—instant stems. It’s both wildly convenient and slightly surreal.
Quick philosophical aside: aren’t these extracted stems really just high-fidelity hallucinations? You’re not remixing the original multitrack recordings, but their digital ghosts—conjured by neural networks. The mechanical rights still apply, but there’s something beautifully strange about remixing spectral doubles. 👻
Extracted Vocals
After running the track through the stemmer, I finally got the naked vocals. This is the moment where the remix really begins: once the vocals are separated, everything else can be rebuilt around them.
Here’s how they sound soloed:

Synths
For this remix, I wanted warmth, space, and just enough grit to keep things alive, so I leaned on three very different synths—each adding its own flavor to the mix:
- Arturia recreation of the Fairlight CMI V – The digital legend. It looks like a computer straight out of 2001: A Space Odyssey: a green monochrome CRT, a chunky keyboard, and a light pen to poke at sounds like you’re programming a spaceship.
- Baby Audio BA‑1 – An analog‑modeled gem that oozes character. I paired it with its own built‑in effects strip to get that crunchy, slightly unstable vibe that makes a mix feel human.
- Serum 2 by Xfer – The heavyweight. A ridiculously versatile wavetable synth that can sound like anything, from creamy pads to metallic chaos, if you’re patient enough to tame it.
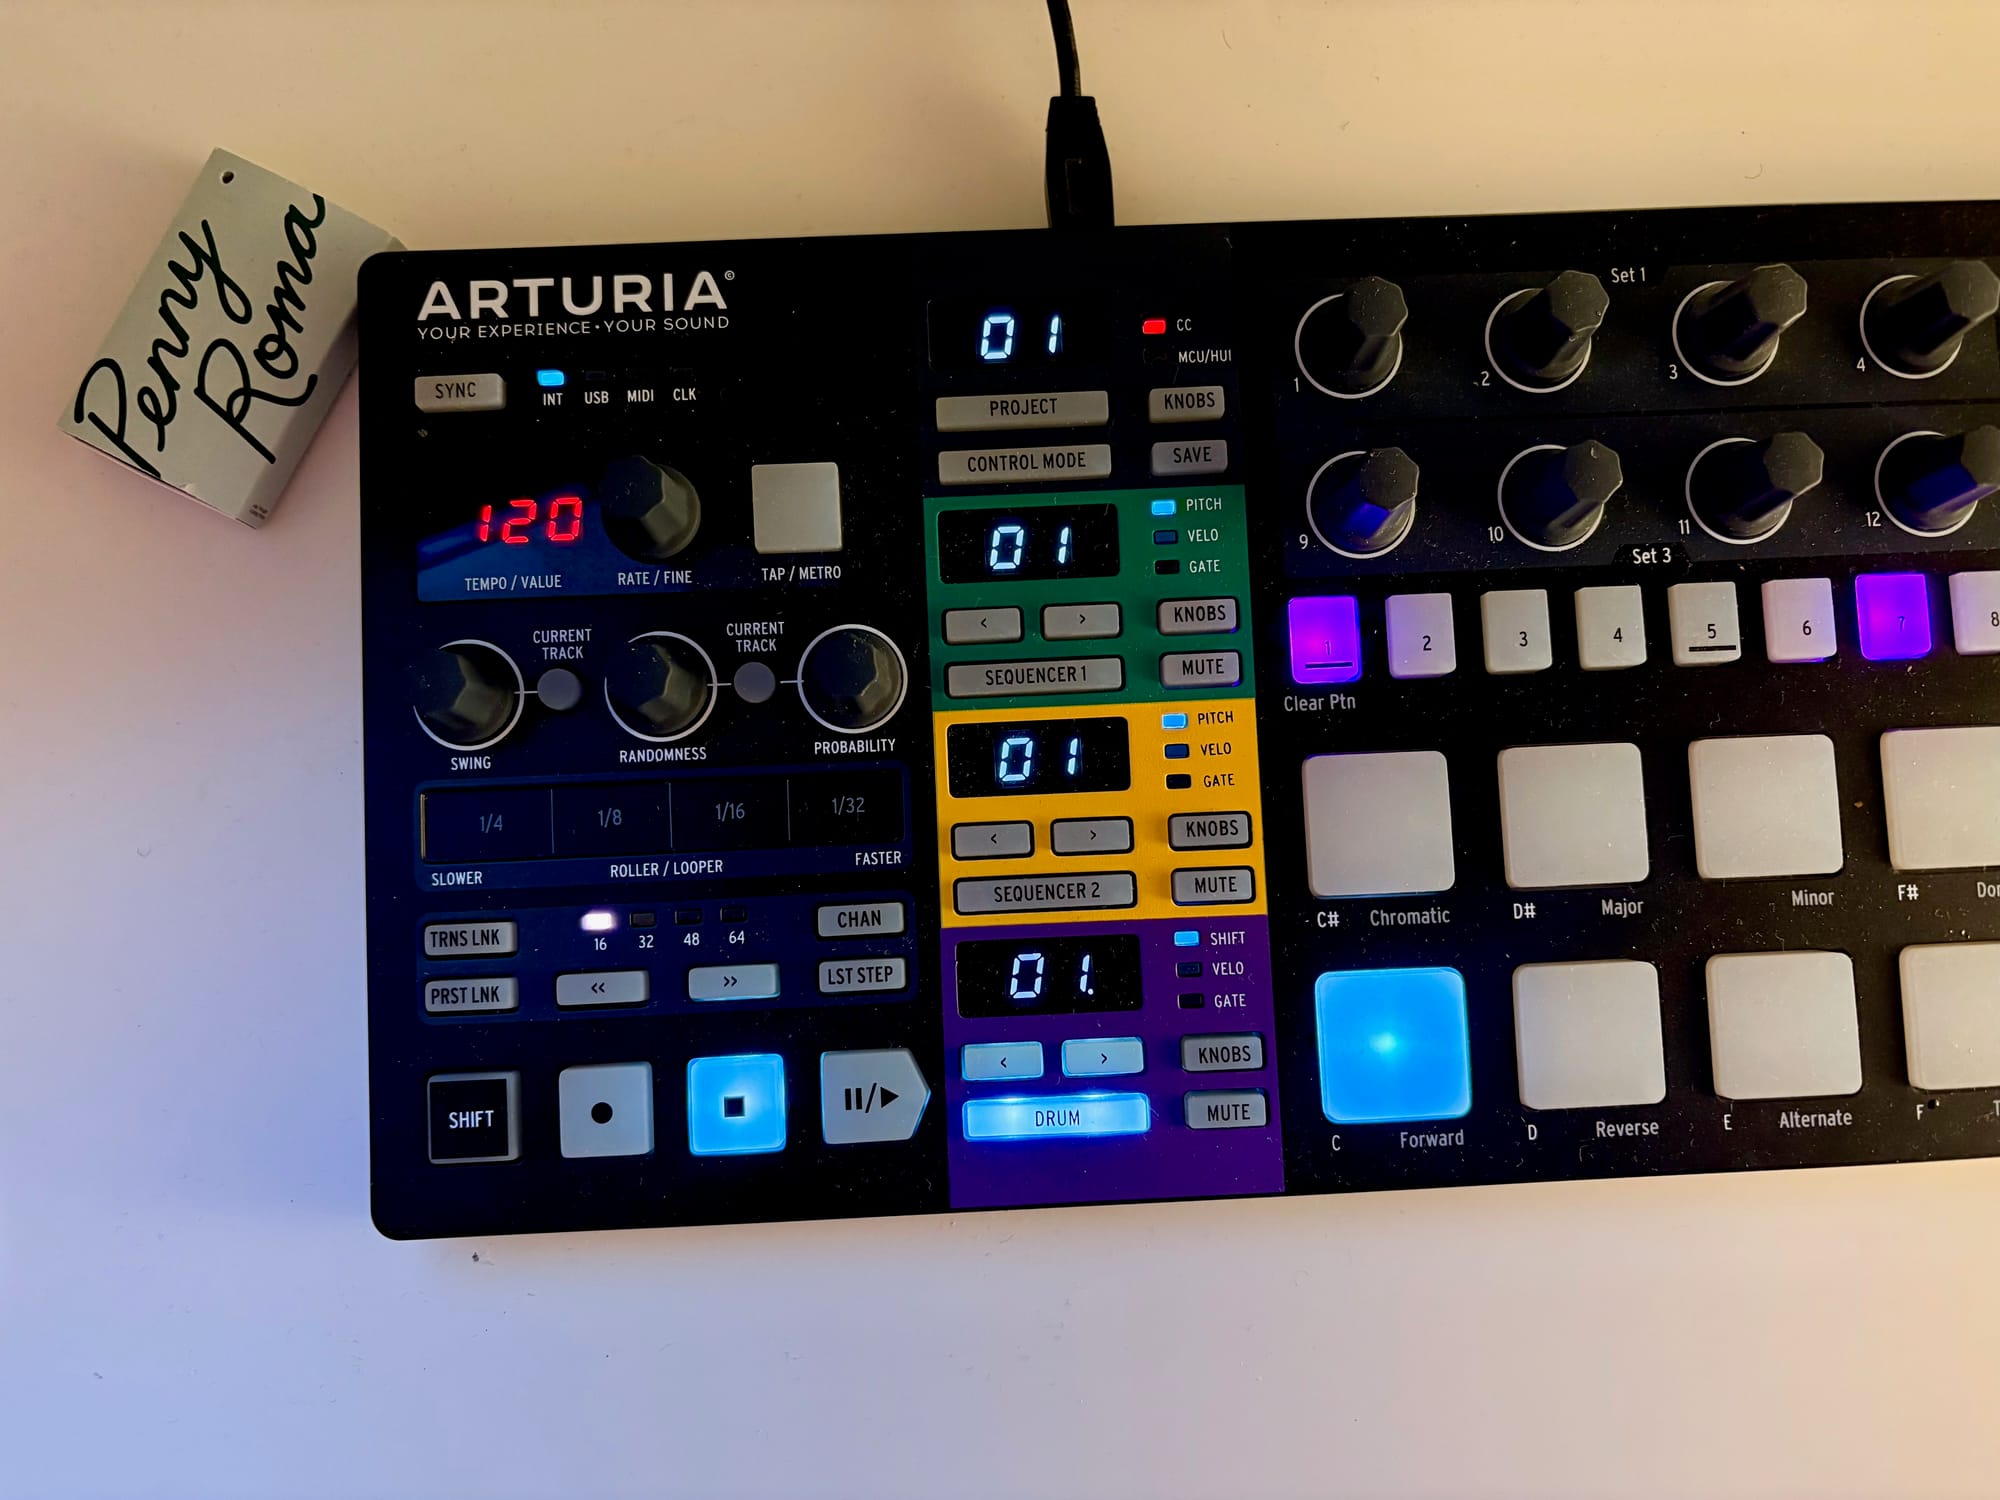
Arps
The backbone of the track is arpeggiated chords. I printed them to MIDI and then “humanized” the timing slightly—perfectly quantized arps feel like D.A.R.Y.L. dutifully reciting a poem it memorized for school.
By layering multiple arps—panned and EQ’d to live in the same frequency range—they fuse into a cohesive, slowly evolving texture rather than a messy cluster of notes.
Here are the arps:


Each single chord is heavily compressed and side‑chained to the drum bus, so when the kick hits, the synths politely step aside. It’s the classic French Touch breathing effect: the track inhales and exhales with the rhythm.
Mixing the Synths
Mixing synth layers is usually a nightmare—they love to collide in the same frequencies, spawning weird resonances you don’t notice until your ears are melting at 2 a.m. But here, those collisions became happy accidents. The subtle detuning and overlapping harmonics fused into a cohesive, almost “alive” pad of sound that felt exactly right.
The Big Cut-off
In true French Touch fashion—something I covered in detail in the Something About Us article—the final step is brutal but magical: everything that isn’t kick or bass gets chopped below 250 Hz.
It might sound drastic, but it’s like vacuuming your mix: clean, immediate, and deeply satisfying.
Every instrument leaks a little low-end mud you don’t notice until it piles up. Clear it, and suddenly the drums and bass hit the way they’re meant to.
Drums
The rhythm section in this remix evolved section by section, each part serving a different function in the overall arc of the track—from toybox quirk to full-on club punch.
The Opening Bars
For the first four bars, it’s just a Roland CR-78 snare on beats 2 and 4. That’s it. The CR-78—one of the first programmable drum machines of the late ’70s—has a slightly plasticky, toy-like charm, like a Casio that got invited to a Kraftwerk party.
To keep it from sounding too thin, I ran it through the Baby Audio BA-1 effect strip, which added just enough midrange boost and drive to make it feel like it belonged. It’s subtle, playful—more of a count-in than a groove—but it sets the tone. It reminds me of the whimsical percussion work Mark Mothersbaugh did for The Life Aquatic soundtrack: mechanical, precise, but also strangely human.

Chorus & Outro
This is where the track hits full stride. The chorus drums are built from two complementary layers:
- A two-bar drum sample, hyper-compressed and groovy but a little thin on its own.
- A custom-programmed drum machine part, with doubled kicks for a deep, boomy thud and stacked snares for extra punch.
Here’s that two-bar loop:

To avoid phasing and any weird flanging artifacts, the drum machine hits are precisely locked to the sample transients. This makes the layering feel natural—even though one is organic and compressed to death, and the other is surgically tight.
Here’s the raw drum machine:

Pretty crude on its own. But when stacked and glued together, something clicks:

To make them feel like one coherent unit, I ran the full stack through glue compression, then passed it through IK Multimedia’s Revox PR99 Mk II emulation. This softens the transients and adds that subtle “worn-in” warmth that makes a mix feel lived-in.
Bridge
For the bridge, I leaned on the work of Florian Gouëllo, a French drummer now based in LA. I reprogrammed a few of his loops, keeping their natural feel but adjusting them to match the groove and pulse of the remix.

Processing was minimal—just enough to make them sit right in the mix. The loops went through (once again) the BA‑1 effect strip to add a bit of grit and saturation, and I sent them to a Wave Alchemy Magic 7 reverb bus—a subtle, airy verb that adds just enough depth and dimension without washing anything out.
Here’s the bridge:

Bass
This remix leans on three different types of bass, each tailored to its section. From retro analog growl to tight hybrid layering, each part plays a different role in shaping the song’s foundation.
Intro, also second Bridge and Outro
John Carpenter fans, this one's for you. For the intro—and later, the second bridge and outro—I landed on a BA‑1 preset that feels pulled straight from a worn-out VHS of The Fog. It’s gritty, dark, and has that unstable analog quality you’d get from low-grade tape.
That texture comes from a subtle LFO gently modulating the pitch, emulating the slight speed fluctuations of old tape machines or warped cassettes. Crucially, the LFO is not synced to the beat, which adds just enough unpredictability to make the bass feel analog, haunted, and beautifully imperfect.
Here’s the intro bass:

And here it is layered with the arps—pure retro-cool:

Chorus
For the chorus, I brought back a technique from Something About Us: layering a synth bass with a real electric bass.
The synth on its own sounds a little too rigid—tight and controlled, but lacking texture:

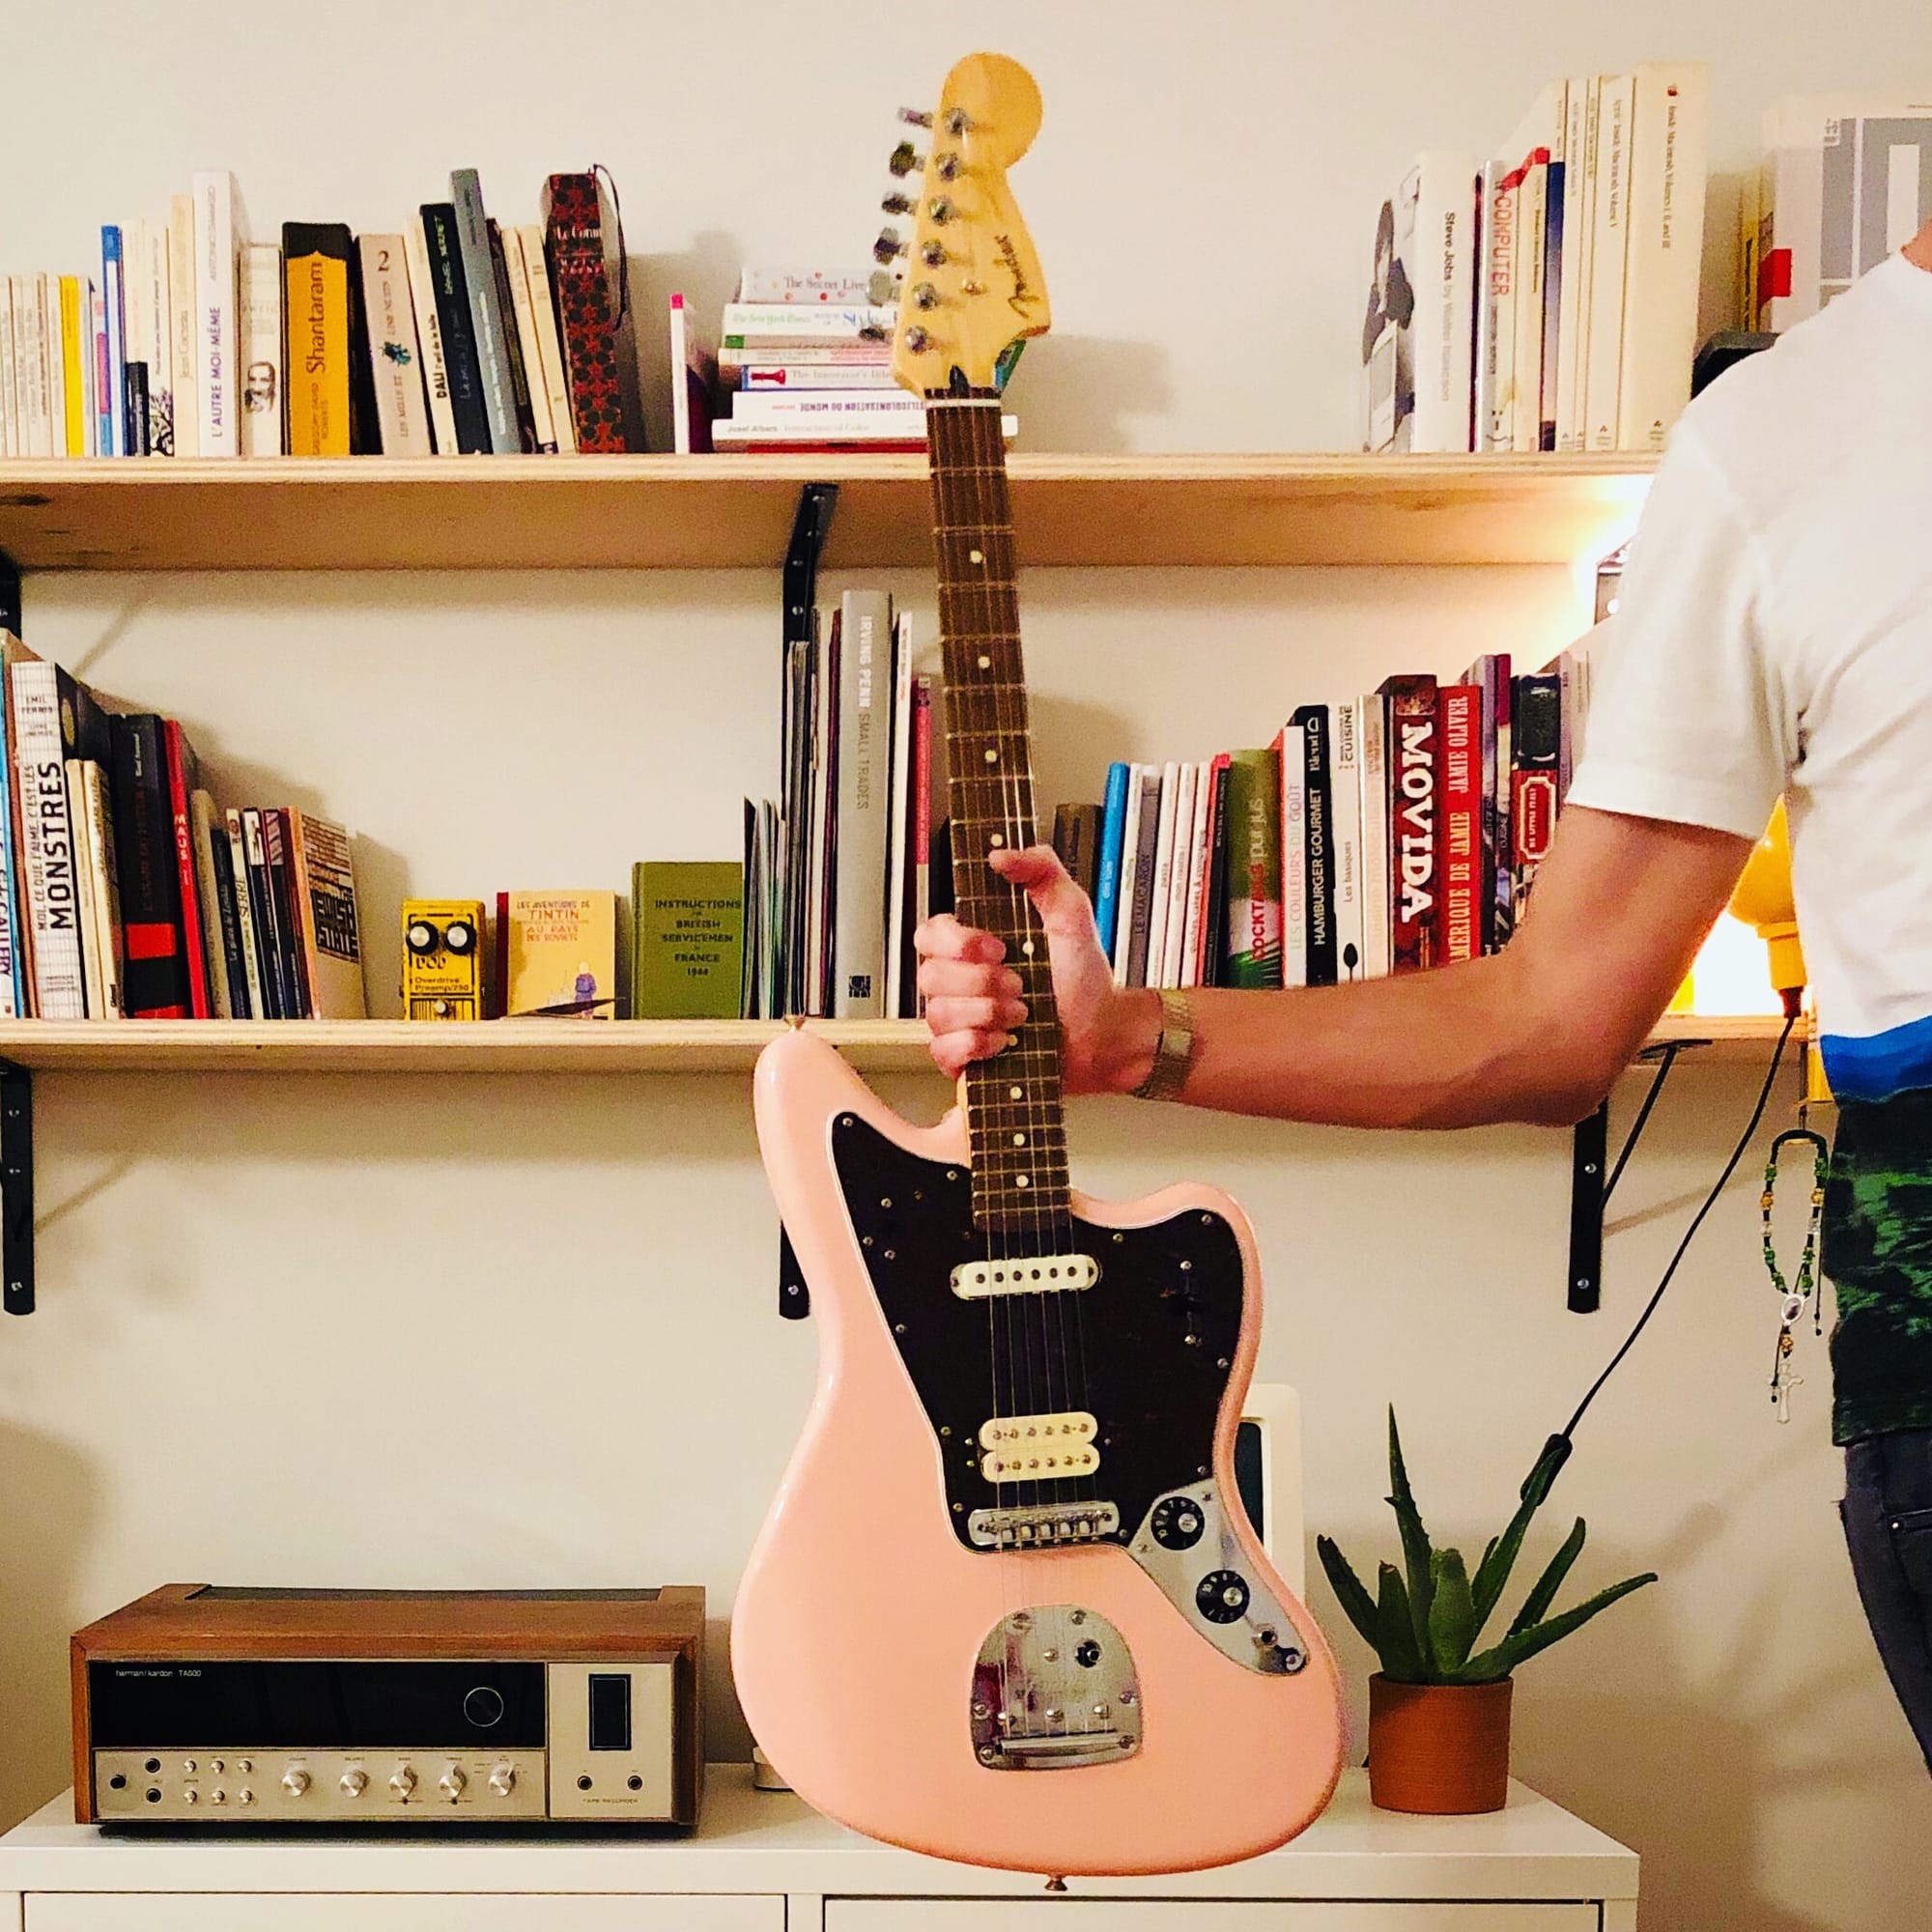
To humanize it, I plugged my Warwick bass into a Focusrite interface, ran it through Guitar Rig 7’s Ampeg model, and played the same line. Then I chopped it up, keeping only the ghost notes and slides—the noisy, expressive bits in between the actual notes.
Here’s the electric bass layer soloed:

And aww here it is with the synth:

That subtle layer of buzz and movement brings the groove to life—the synth lays the foundation while the real bass breathes soul into it. A touch of glue compression, and the combo feels tight but alive.
Verse
For the verse, I turned to Serum 2 and built a fuzzy, ultra-fat bass using a sawtooth wave and a sub oscillator. It’s dense, precise, and powerful—but the line itself stays sparse, leaving plenty of space for the vocals to breathe.
Here it is soloed:

And here it is with the drums:

Vocals
I kept the verse and chorus vocals intact, letting their raw energy do the heavy lifting. But for the intro, bridges, and outro, I had some fun.
There were three different approaches to warping the vocals, depending on what the moment called for:
- Good old scissors — Sometimes all you need is a clean cut. I sliced out a few words to create breathing room for the instrumental. This technique shows up in the intro and second bridge.
- Chop shop mode — In the first bridge, I went full Dr. Rex—using Ableton’s “Slice to New MIDI Track” to cut the vocals into transient-based snippets, then replayed them on the keyboard like a sampler. It’s messy, rhythmic, and kind of fun to work with.
- FX automagic — For transitions, I ran vocals through Baby Audio Transit, automating a stereo delay and freeze effect that stretches the line’s ending like taffy, handing it smoothly to the next section.
The Master Bus
On the master bus, I kept things simple and musical:
- First, a bus compressor modeled after a British VCA console—just enough glue to hold the mix together without crushing it.
- Then a Studer A800 emulation to warm things up and gently smooth the transients.
I left plenty of headroom—final polish always happens at the mastering stage.
Tape Machines: A Bittersweet Love Story
There’s no denying the charm tape machines bring to a mix. They round off transients, add subtle saturation, and bring that warm, lived-in feel. But while purists swear by hardware, I’ve had trust issues ever since I was 20.
Back then, I was running sound at a small café-théâtre in Paris. We had a glorious old Revox reel-to-reel for live playback, and a lighting board so bare-bones you had to slam the faders down with a ruler to fade to black.
One night, during a live performance, the tape snapped mid-show. The reels spun like mad, and I scrambled to rescue the soundtrack—sweating like Doc Brown trying to reconnect the cable before lightning struck the clocktower.
After the show, I asked the director what he used to splice the tape.
“Scotch tape,” he said.
I blinked.
“You mean splicing tape… right?”
He looked confused. That’s when I knew.
Since then, I’ve had a soft spot for digital emulations. They may not smell like magnetic oxide, but at least they don’t melt halfway through act two.
Final Master with T‑Racks
For mastering, I gave T-Racks Master Match X a spin—and was pleasantly surprised. It saved me from the usual infinite loop of EQ tweaks and loudness paranoia.
After the obligatory AirPods test, a car test, a few last adjustments, and a night’s sleep to reset my ears, the track was ready to go.
Final Notes
Reworking this Mother Mother classic was as much about exploring new tools as it was about genre-flipping. There’s something deeply satisfying about taking punk energy and wrapping it in French Touch silk.
The project also reinforced my love affair with Ableton Live 12—every session feels more intuitive, more musical, and the workflow gets out of the way so you can focus on the sound.
The original Mother Mother track is packed with punk energy and sharp writing—I highly recommend giving it a proper listen.
Hope you enjoyed this deep dive into the remix process.
Follow me on Instagram for behind-the-scenes bits and sneak peeks at what’s coming next. ❤️